
I finally got around to building the new editing rig, and just in time because I've been so busy rocking out projects that I haven't had time to sit down to blog about building it until now! This blog will be about the actual assembly and performance of the rig, for the full specs of each component, refer to my blog post from March 29th.
It's been a few years since I've built a computer, so I took my time, set aside an entire day and made sure I got everything right. I also queued up help on my phone to my go-to for computer stuff: Linus Tech Tips and even more specifically their video for the ULTIMATE Video Editing Workstation PC Computer "How To" Build Guide.
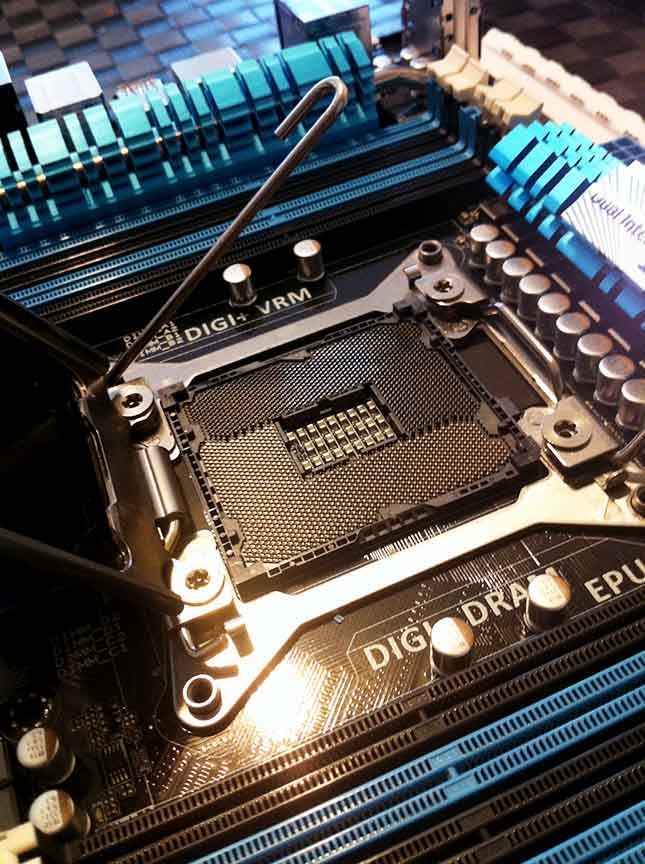
Linus takes pretty much the same approach I did and first assembled the processor, heatsink, and RAM onto the motherboard. Excited to get started I had to take a picture of the awesome LGA 2011 socket, it's amazing to me that everything is done just from all those tiny pin holes.
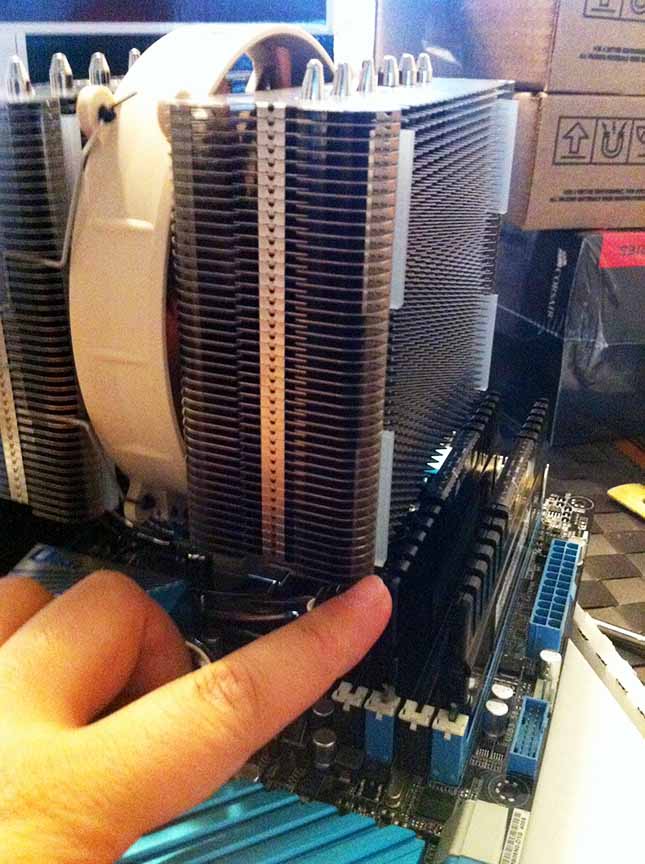
Next was to put on the heatsink, a Noctura NH-D14. This thing is HUGE! After putting it on, I honestly questioned whether or not it would be able to fit into my case! It barely fit with everything in place and gave just enough room for the RAM to fit. The plastic casing on the RAM just barely cleared the bottom of the pipes. You can see the scale of this thing next to my finger.
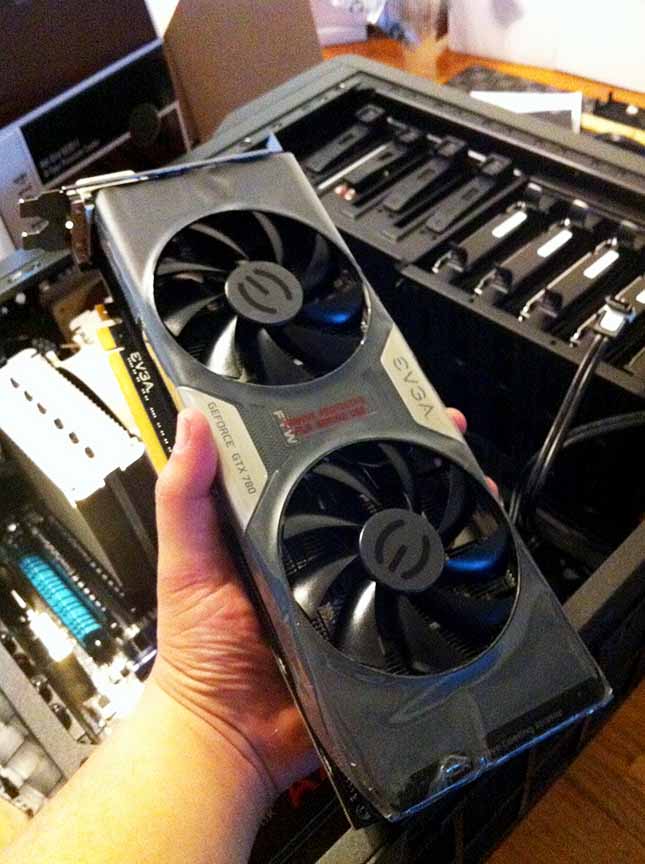
Finally, it was time to put it into the case and start plugging everything in! The video card, an EVGA GeForce 780 FTW was pretty standard to install, but it looks so cool that I feel it deserves a picture on it's own. (Side note: yes, I did take off the plastic before actually installing it!)
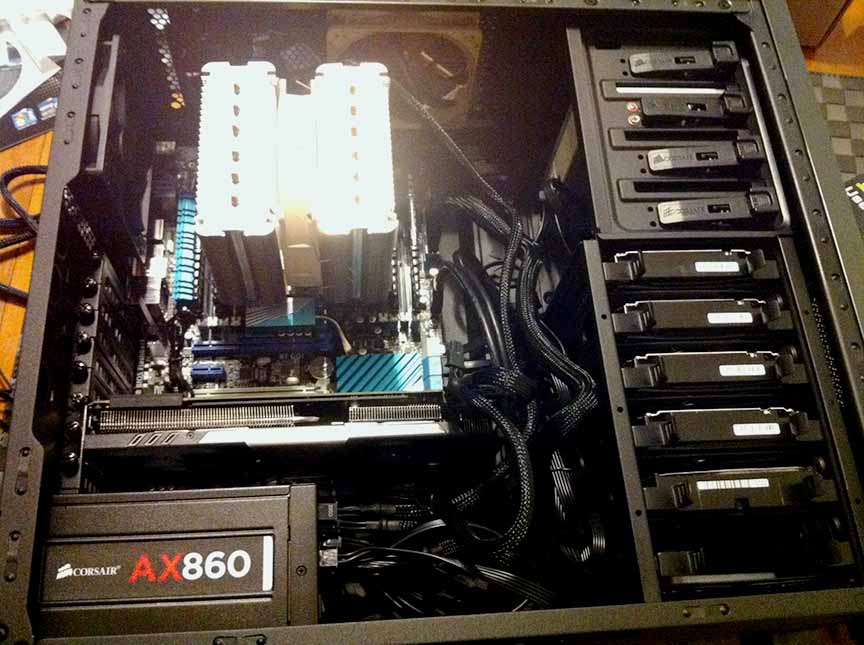
Everything else was pretty standard from there on out. I didn't take a picture, but I was particularly impressed with the Corsair AX860 Power Supply I eventually decided on. It's the first modular power supply I've ever owned, so I was really impressed with the setup. As I'm a sucker for packaging and little amenities, I LOVED that all the cables came in a little fabric bag. Good stuff Corsair!
Corsair continued to impress me once I started working with the case that I got from them, the Carbide 400R. Everything fit perfectly into the case, the connections to the front ports, lights, and buttons were extremely easy. I'm stoked to have two USB 3.0 ports and a firewire port up front for quick access.
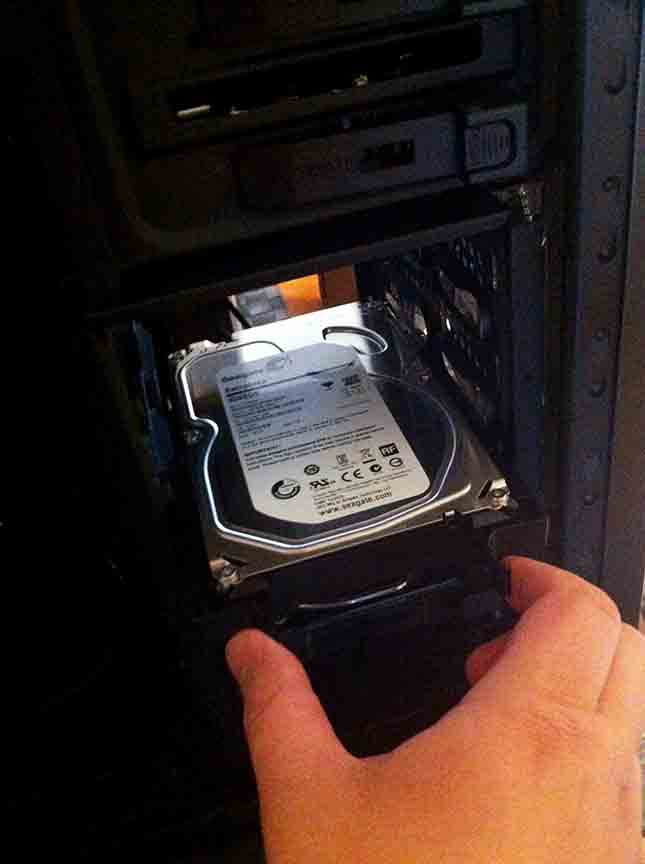
Again, it's been a few years since I've built a computer, so I don't know if this is standard now but I was really impressed with the Hard Drive Caddy built into the case. Basically, a little rubber piece comes out with nubs that fit the screw holes on the hard drive and you just plug it in. So there are ZERO screws necessary and the hard drives just float there, keeping it really quiet.
Now just give everything power (then fix the things that I did incorrectly, haha) and I had Windows 8.1 Pro installed in no time. Now I know my old computer was outdated, but I was seriously blown away by the speed of this system. Just booting off an SSD and having a RAID for the media files worked like a charm. I was playing video files GB's in size in VLC that would play instantaneously from the time I clicked it. Serious geek squeal moment.
Now that I've been working on it for a little while, I've been installing the remaining miscellaneous programs, codecs, and drivers as needed to get it in a really good working state. Eventually I'll get around to overclocking and really getting the most out of it, but even without touching anything I was able to run the Heaven Benchmark test on maxed out settings and averaged over 70fps!
But the first real test came this evening, when I was exporting a large project I've been working on. All 6 cores of that Intel i7 4930 were rocking, and 25GB of the 32 I have installed were all blasting through, as a video 1:12:11 in length finished rendering (albeit, just a one pass VBR for client approval) in just 31 minutes! For just out of the box, I'm extremely pleased with that.
Additionally, the original footage was in the Cineform codec, which sometimes can be a little wonky with different things. So I'm really pleased with how everything came together. Now, to continue working on bigger and better projects to really put this system to use!
Thanks for making it through this book of a blog post, if you have any tips for me or any questions on what I did or any rationale behind it, let me know in the comments!